I had the opportunity to take a Thermofax screen printing class yesterday with two delightful gals, Susan Price and Elizabeth Gibson. The class was held at one of my alternate homes, Artistic Artifacts Annex. For those who are not aware of what Thermofax Screen printing is, here is a quick description. Someone made the discovery that old Thermofax machines (once used for creating transparencies in schools and such) could be used to burn screens to be used in artwork. The production of the screens requires 1. a Thermofax machine ( folks are busy refurbishing old machines for just this purpose) 2. the special coated screen material 3. a black and white toner copy image . When placed against the screen, the toner image (that contains carbon) will be burned into the screen material removing the coating in the carbon area- where ever the image is back.
These machines are EXPENSIVE and there is quite a steep learning curve for getting things all worked out and set up. Elizabeth and Susan have invested in a machine and are working on their own Small business to create screens for other artists who want to print with their own images. This is the point where my own photography and artwork comes on the scene!! Their business is call
PG Fiber to Art and I will be sure to let you all know when they are up and running for making screens for the public.
In the meantime they taught the class yesterday at
Artistic Artifacts Annex ( one of my alternate homes) to teach us how to work with the screens . We got to print with a wonderful stash of their own screens and to learn how to best work with the paint on our own fabrics.
I did not do any printing on plain fabrics! No, not me!! I took along pieces of fabric that had already been manipulated with color. Above is a gelatin mono printed piece of muslin that was done with large bubble wrap then i practiced with the small flower screen using a mixture of yellow and a strong orange paint to WAKE Up this background.
This is one of my favorite pieces. This is a piece of my hand dyed muslin that a printed with several different Queen Anne's Lace screens using several different colors of paint with several different opacity levels. I love the depth in this piece.
This small bit is a used tea bag that i took apart after the tea had dried out a bit and then printed with another small flower screen!! Love this!! Save your tea bags!!!
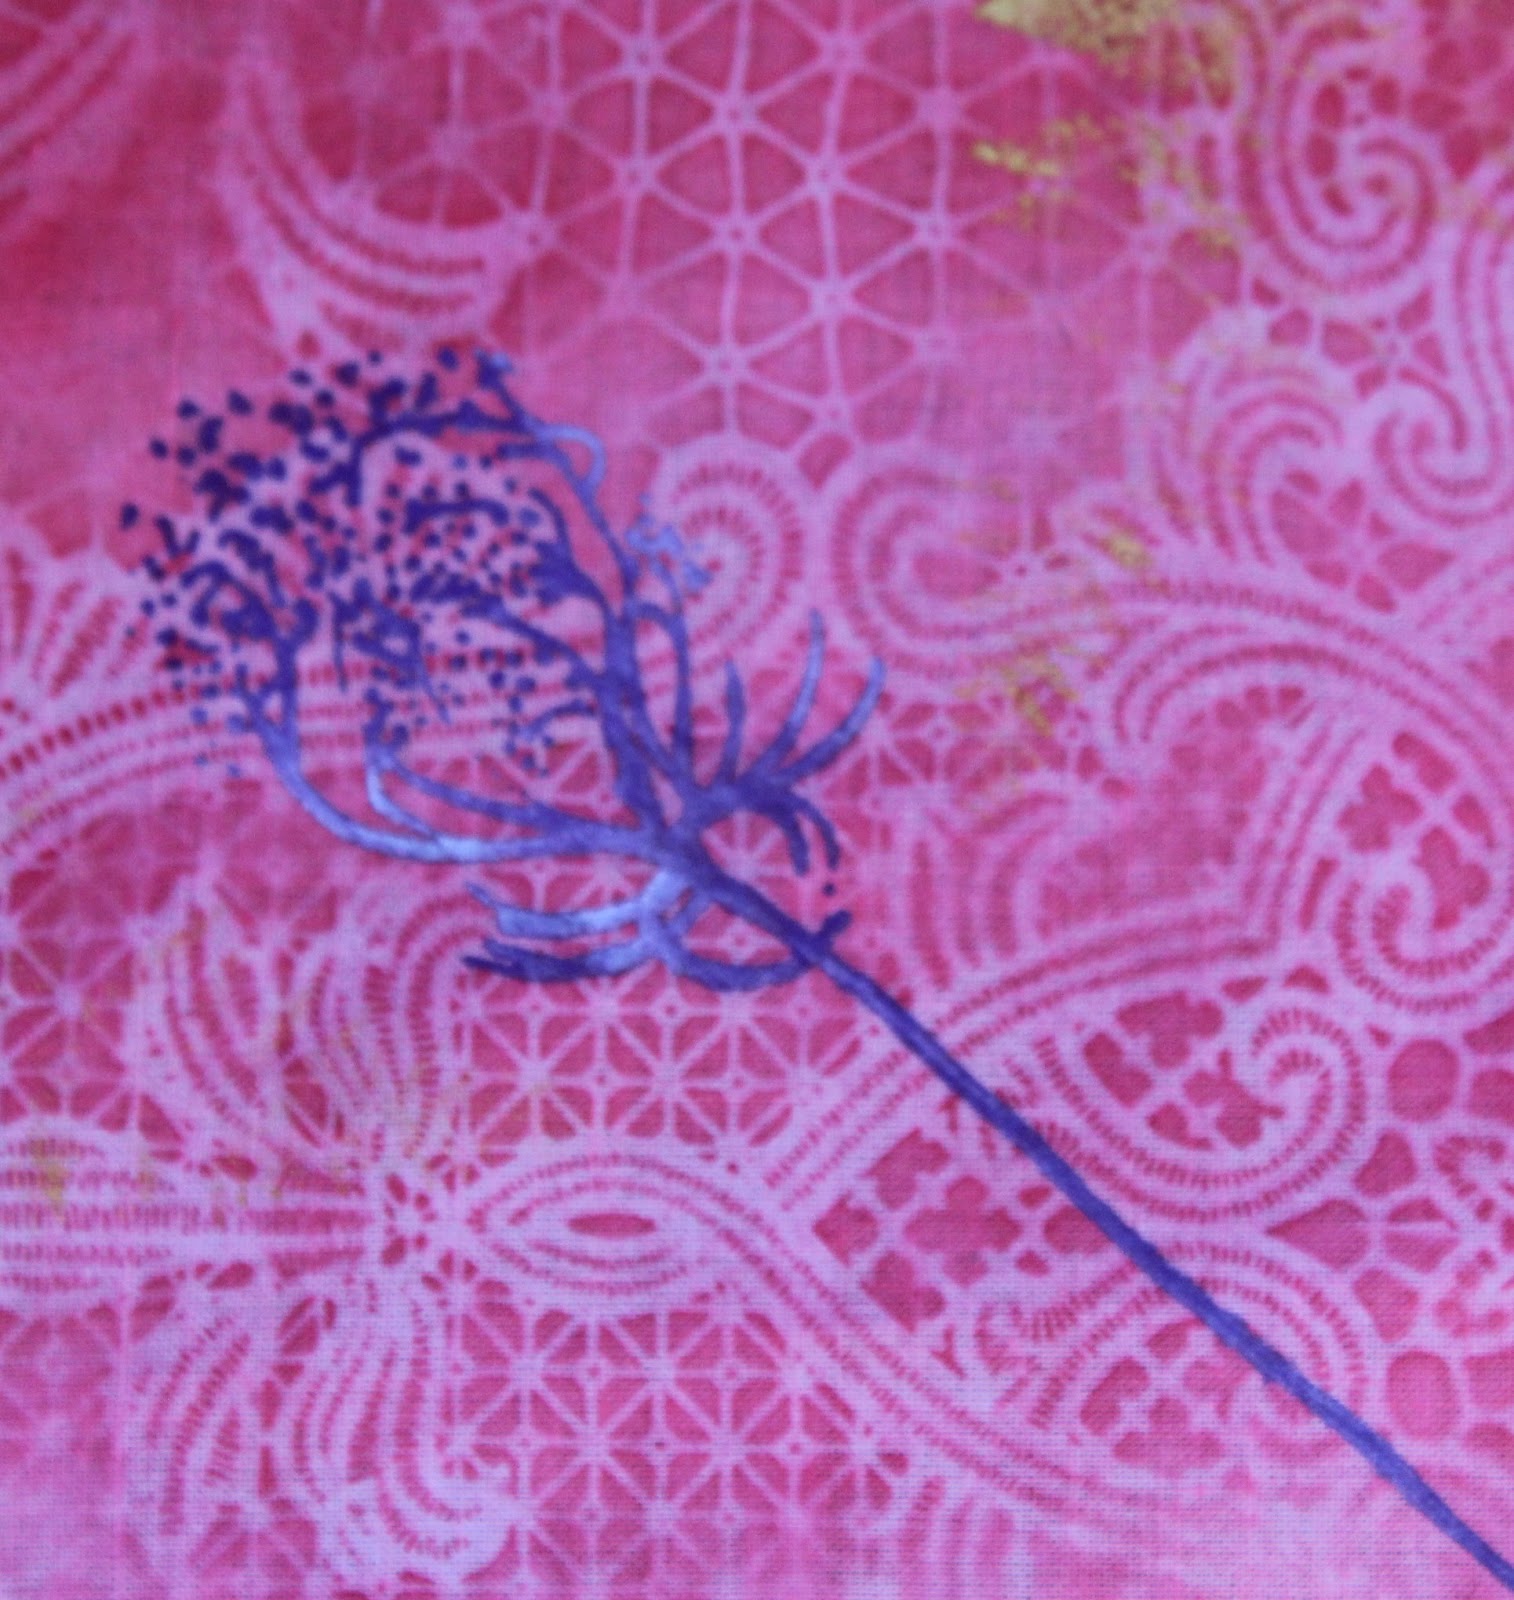
Here is another fabulous Queen Anne's Lace screen printed on one of my sun prints. I used a mixture of white and purple paints to get the color shift effects. ( I am not one to keep it simple with just one color of paint, once I got the printing technique down, playtime and experimentation definitely took over!!!)
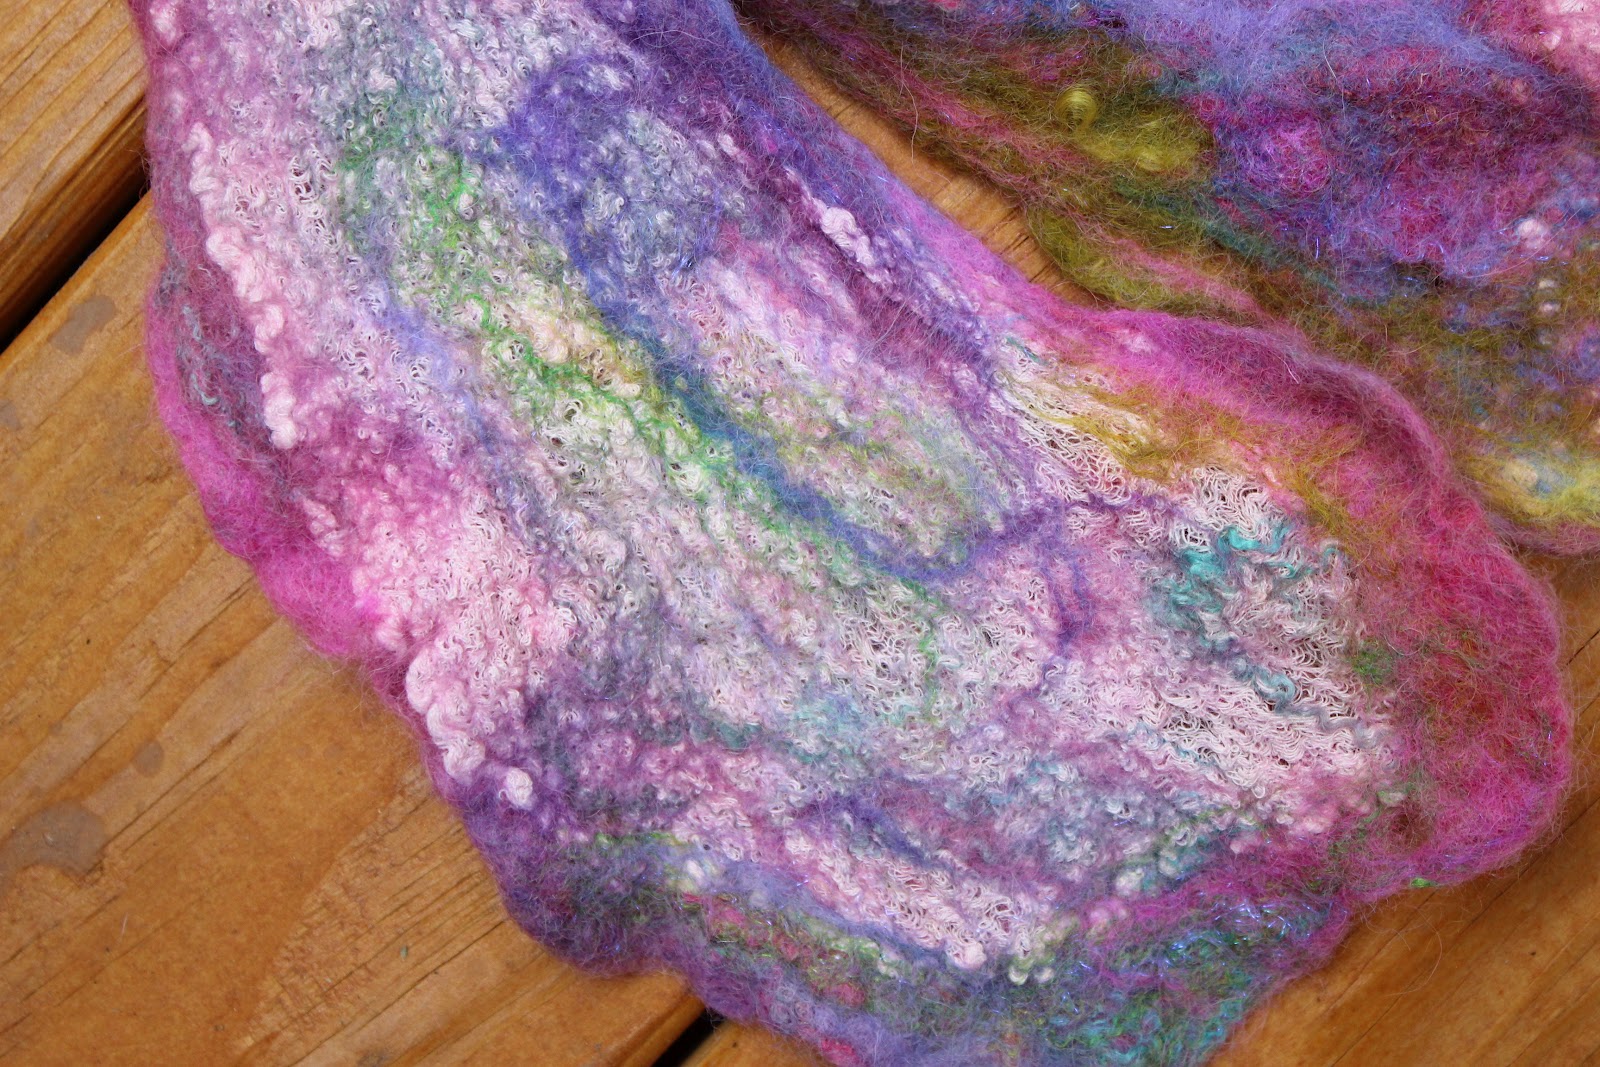
This is another favorite piece! This began as a vintage doily that i rust dyed. the rust dying was less than exciting so it went into the low immersion dye pile and came out quite well. Not done yet- more Queen Anne's Lace screens and now it is FABULOUS!!!( If I do say so myself!!)
This fabric was created using large bubble bubble wrap on a gelatin plate and then the butterfly screens were added yesterday!! Much better!! LOVE THIS !!
This piece began life as a large piece of plain muslin. I wet the fabric and sprinkled it with instant coffee granules and let it dry in the sun. After heat setting the stains with an iron- REALLY hot- it got screen printed with my favorite Queen Anne's Lace Screens. O LA LA!!!
Today I am going to be working on my own photographs and then going on a walk to collect some Queen Anne's lace to make my own screens!!
I am hooked again - like a junkie on crack!!! I rushed home and started going thru my photos to find special shots that would work best for this technique. Now I have yet another layer of my personal images to add to my textile and paper projects.
It does not get much better than this- let me tell you!!!