Showing posts with label masks. Show all posts

Wednesday, March 21, 2012

Gelatin Mono-Printing at Artful Dimensions Gallery

I have just taught my first class at Artful Dimensions Gallery in Fredericksburg,VA.  It was a small and intimate group but we had such fun and my students generated some incredible mono- prints!!!

This is the general set up for a Gelatin mono- Printing class. each student is given their own gelatin plate- in this case it was an old lunch room tray filled with a slab of Knox gelatin made at a ratio of 8 envelopes of gelatin to 4 cup of water.
Paint is then spread with a brayer onto the hardened gelatin plate and items (called Masks) are placed on top of the painted gelatin to block the transfer of paint to your paper or fabric.
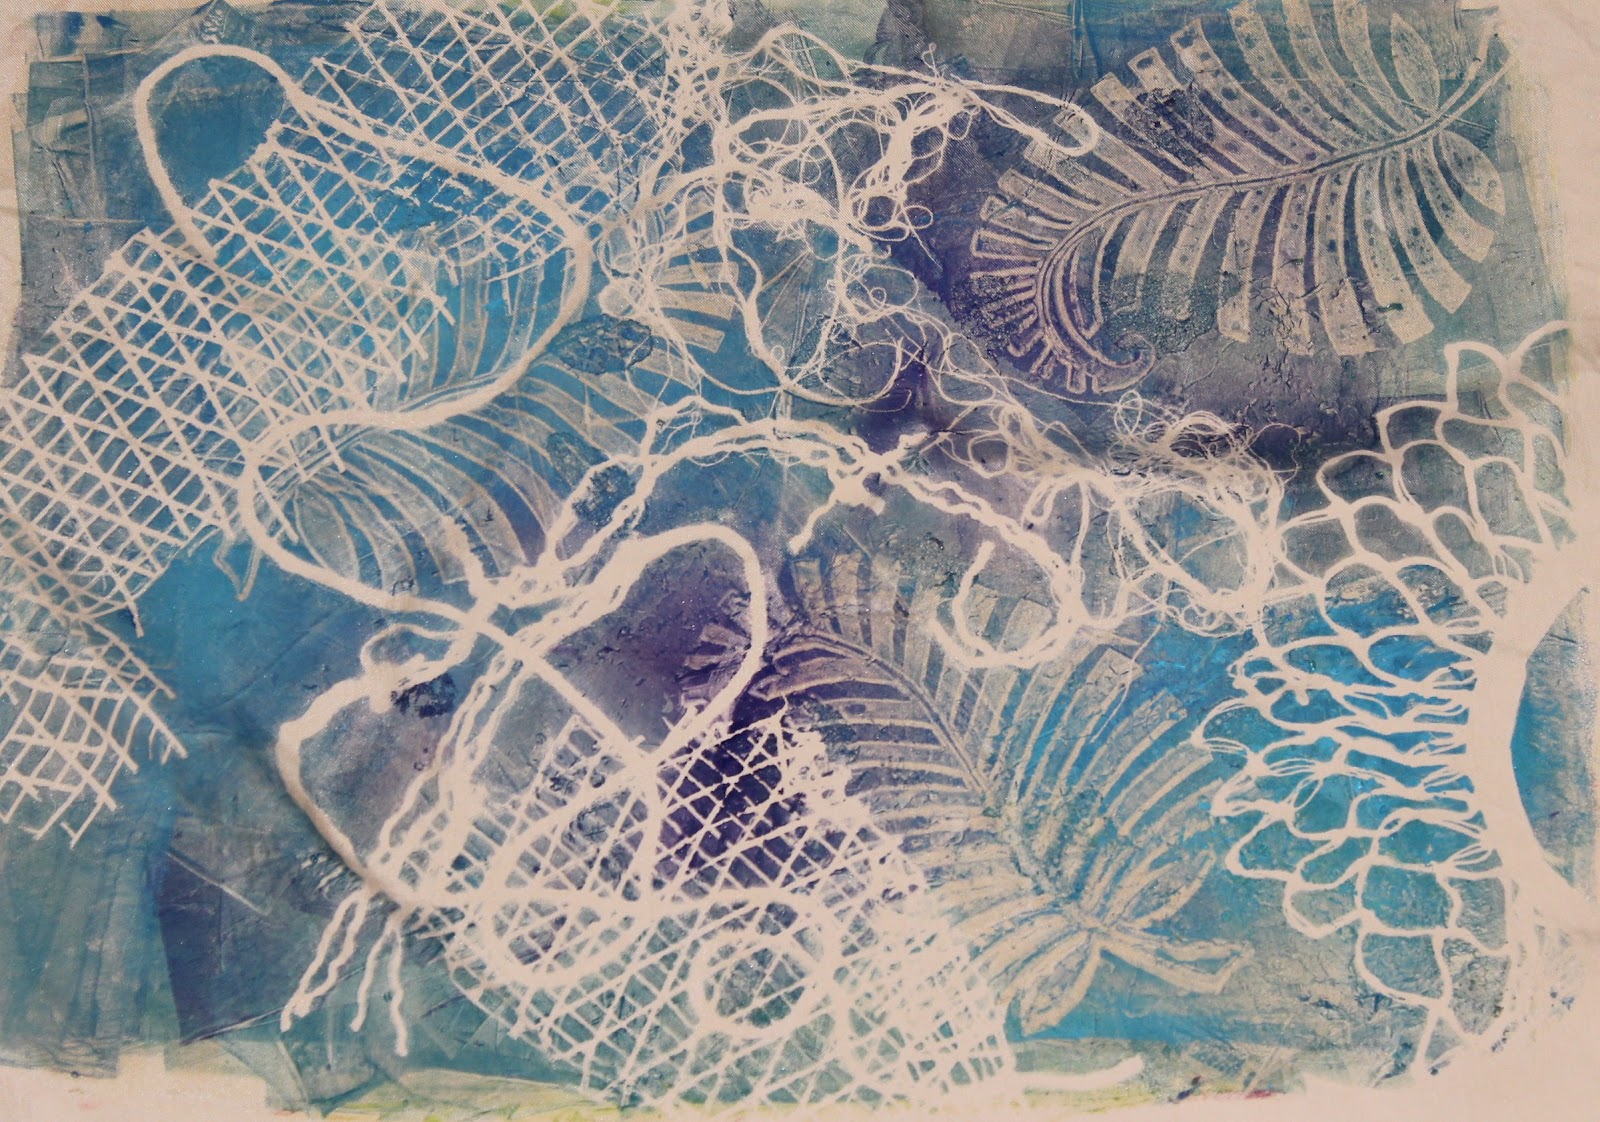
This is the resulting print from a plate that has several colors of paint on it and a variety of masks ( the masks in this case included mesh veggie bags, a wonderful leaf stamp that was used to take paint off the plate- thus leaving the impression of the stamp, some unraveled polyester yarn, a lace doily and some loose threads taken form the edge of a piece of fabric).  This would then be called print #1.
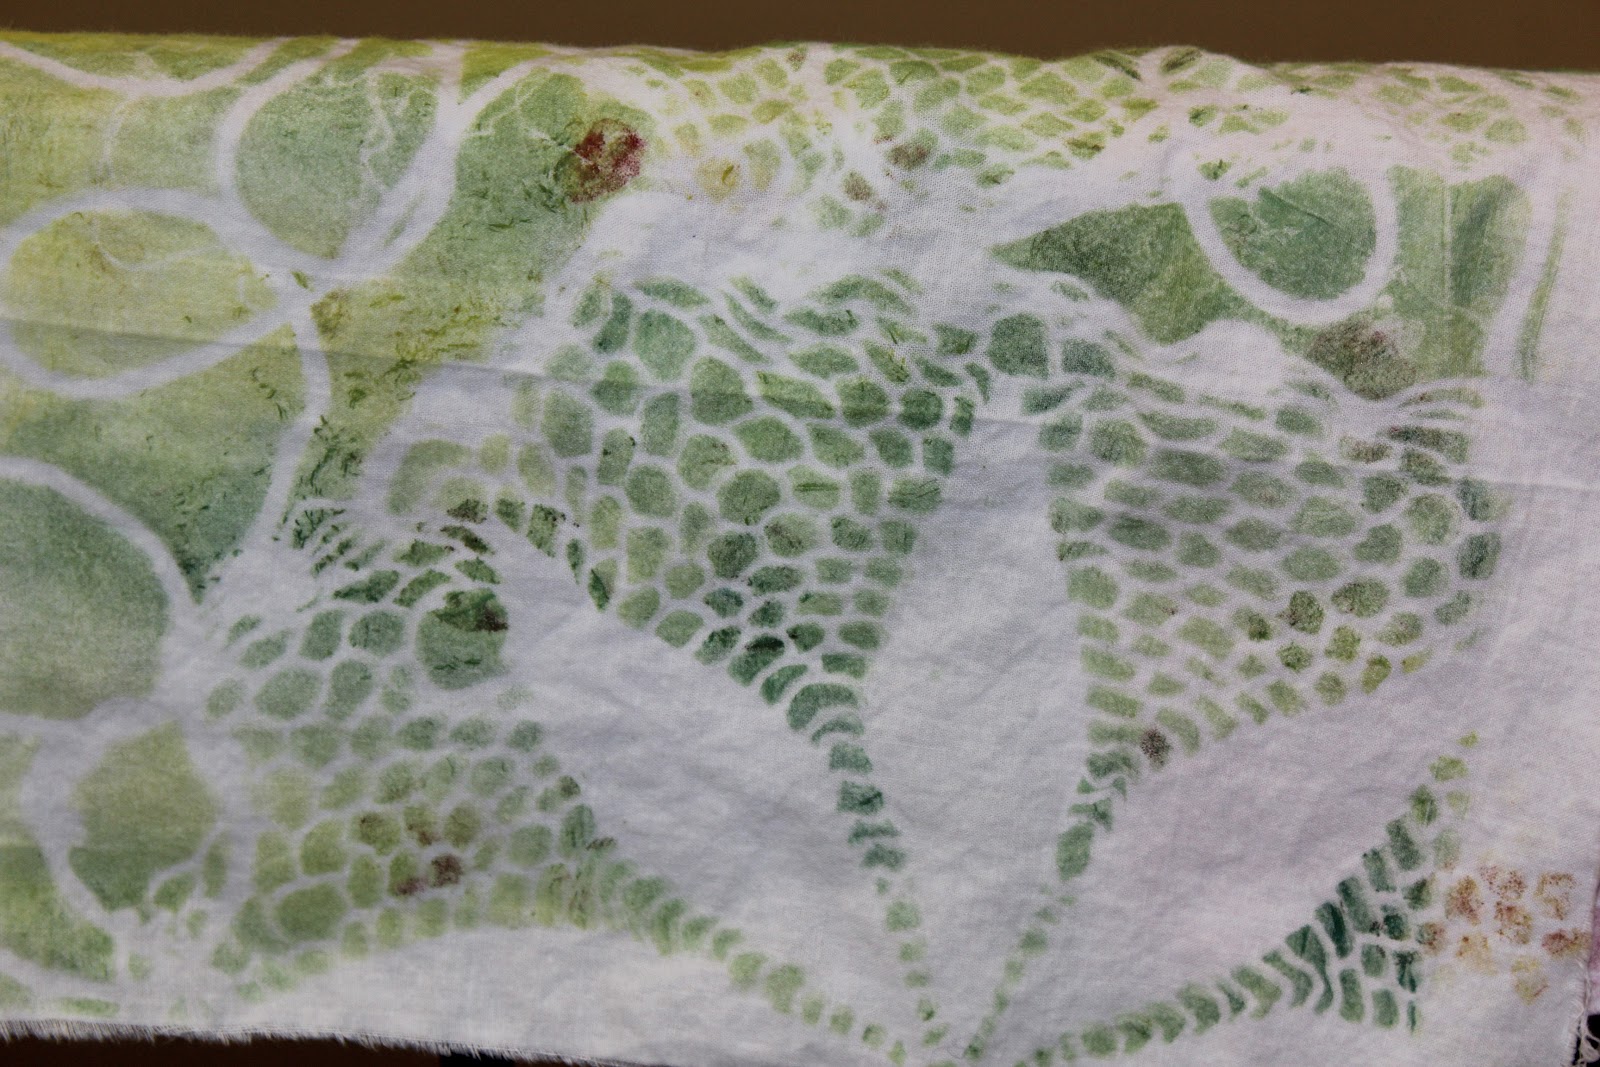
Here is another 1st print done with green and yellow apint on the gel plate.
After the 1st print is dry, one can do another print with different colors and different masks.  In this case Lynette cut her own masks from paper and laid them down on the gel pate so some of her patterning from print #1 would be protected by the new masks.  It is always such a fun moment to lift off that second print and see what the results are.  Lots of Oh's and AHHHH's!! Such wonderful fun!
After the first print, and the removal of the masks covering the painted plate, there will be paint left behind on the plate.  A second print can be done at this time and this print is called  a Ghost Print and is often my favorite print.  The Ghost Print is always so very detailed,subtle and elegant.
This is one of my favorite Ghost Prints generated that day.

This is just a  small selection of the mono prints made that day in our three hour class! this is a very addictive technique that requires very few tools and depends on the artists willingness to experiment, get messy and take chances.  Don't begin this project without a big stack of papers and fabrics, either white or colored, to print on as YOU WILL NOT WANT TO STOP!!!!

I will be teaching this workshop again soon at Artful Dimensions BUT I am definitely teaching this class on March 31st at Artistic Artifacts in Alexandria ,Va.  Check here for sign up info!! I would love to see you in class!!

Wednesday, October 7, 2009

Gelatin Mono-Printing Seminar

This past Monday I held my first in Studio art Seminar with two wonderful new friends!! The subject of the day was Gelatin Mono-printing. this was a big deal for two reasons! It was my First in Studio Teaching but it also meant that I had to have cleaned and cleared work surfaces to use!!!!! I did it!! The studio was cleaned and organized!!!!! A true Miracle!!!!!
In this printing process we used blocks of gelatin as our printing surface. The paint was applied to the gelatin surface , various tools were used to remove paint or to mask paint transfer and then fabric or paper was applied to the painted gelatin surface and prints were lifted. it is a ton of messy wonderful fun that is full of surprises and Ah-Ha moments!!!
Mono means one and each print is a totally unique print from this amazing surface that really cannot be duplicated!! As you work on the gelatin surface, if the block of gelatin has been removed form the pan, the surface starts to break apart leaving wonderful cracks and texture in the surface that transfers to the fabric or paper in the printing surface. Very very Cool process!! We had a blast and I could not have asked for kinder friendlier more adventurous students if I had written the Perfect Student Recipe myself!!!!!Inge even brought lunch for us!!!!!
Inge and Lara sought me out throught the work that I display at Liberty Town . Lara (daughter of Inge) had been all set to attend Art and Soul in Hampton Va, last year but had to cancel a month before the event, because of health issues. As you can imagine she was very dissapointed!~! So wonderful Mom Inge was trying to make up for this dissappointment by providing a day of exploration in art and she chose ME as the Art Provider. Well, LUCKY ME!!!!!
Enough talk, on to the pictures !!

Inge is removing paint from her painted gelatin block using a spool for a stamp. She is stamping the paint onto paper towel. (another wonderful substrate for collage)!


Here is Lara about to lift off her first print!
WAIT FOR IT............

TA DAAAAA!!! Very psychadelic!!


Here you see Inge arranging ferns and vines form the garden on top of her painted gelatin paint before placing the fabric on top. The leaves etc. will mask the paint in that area and the result will be........

This glorious print!!!!
Here is a selection of other prints that we made that day.
Net bags were used here for texture and you can start to see evidence of cracks in the gelatin surface- more texture!!!! (bottom center, you can see a purple fissure opening up!)

Here large bubble wrap was used as a stamp before printing. No one is allowed to jump on bubble wrap in my house anymore!! "AWWW MOM! You're no fun!!"

As we cleaned off our various tools we used Baby Wipes with Aloe- gentler on the hands!! Of course these wipes were not discarded, but hung to dry with everything else. Once dry we used rubber stamps to overstamp. The wipes have light weight batting feel to them once dry and will make wonderful additions to fabric collage pieces!


This was Lara's first print and she was not happy with the colors. Inge rescued the print by overstamping with a wonderful pear stamp and black ink.!!!

Here are some prints done with foliage. the purple is the print done with the ferns on the painted palte and the white is the print done after the foliage has been removed fromt he painted plate. This second print is often called the Ghost Print and the detail is wonderful!


THis is one of the gelatin blocks after a day of printing. More and more cracks are opening up and the texture of the plate itself is becoming more and more interesting. After we had finished our long day of play, I covered the blocks with saran wrap and left it sitting on the table over night. Then yesterday I returned for some more fun!!
Lara and Inge have decided that they want to return for more art adventrues with me, and I couldn't be more delighted. They want to learn book making, explore more surface design techniques for paper and fabric, fabric collage, fabric paper and beading, to name a few!!!
We may have to start setting up some overnight sleep over type work experiences!! I sure am game!!!!
Now here are a few of the prints that I made using the cracked gelatin blocks, on the day after the class.


This is the second print off of the above plate with the addition of threads over the paint- see the trails left by the threads above?


Here is a whole selection of prints- once you start it is very difficult to stop!!!!
You can also get a good idea of the Batik cracking effect that you can capture in your prints, from a cracked gelatin block!!


For these last two sets of prints I used a brayer to put paint on an old wooden chop block that I ahd purchased long ago at Ten Thousand Villages. This block was on the clearance table (50% off) as it had been damaged on one corner.
I really love how these traditional prints turned out.


I ahve two more gelatin blocks sitting on my table downstairs! Anyone want to come over and play????????
Now you may be wondering what I am going to do with all of these wonderful prints?????
ME TOO!!
I feel a Blog Give Away coming on !! Keep you eyes open!!
Now go out and find something creative to play with today!!!!!

LinkWithin

Related Posts with Thumbnails