Wednesday, July 25, 2012

Linen Jacket Rescue

I have been finding many wonderful items for re-purposing of late , at local thrift shops and the Goodwill.
I found this great 100% linen jacket recently but inn my opinion it had very "unfortunate pockets."  Sometimes I just have to wonder," What were the designers thinking ????"
This jacket has great simple lines and a timeless style. Why, oh why would one consider plopping a country themed print on the pockets???No matter, my treasure now!!!  I paid 3.49 for it and came back home to plan  a re-make, rescue!!


Very unfortunate pockets don't you think????
So I set to work using strips and scraps of my hand dyed fabrics and many of my sun printed bits to create this strip pieced fabric a la Rayna Gillman !  Her wonderful book Create Your Own Free Form Quilts: A Stress Free Journey to Original Design has been such an inspiration to me and I can't recommend the book and her wonderful methods highly enough!!

I did add a few batiks form my scrap bin and a few Black and White prints to make all the colors pop, but the rest are my won hand dyed and sun printed fabrics.  Then I had to cut the piece up!!  Not easy, but I steeled myself  and cut away, to create pockets and two decorative accent panels for the jacket front and back.


The jacket front!


The jacket back! 
 After a good press and a few photos , I packed the rescued piece up and sent it off to my mom in MA.  She is recovering from a heart attack and hopefully this will put a bit of a spring in her step as she returns to her beloved Knitting group and volunteer endeavors.  Everyone loves to sport a new original piece of arty clothing don't you think!  I know that this will look smashing on her and she will be so jazzed about the fact that it is a recycled remake!!

Saturday, July 21, 2012

Purple Royalty- A gift.


 I have just completed this bracelet that I call Purple Royalty for my wonderful sister in law,
Elise Jensen.  Elise has just returned home to her family from 2 years spent in Afghanistan working on women's education and health issues for USAID.


 This piece has many fresh water pearls, amethyst stones and vintage Czech glass beads.


 The toggle closure was made using a vintage gold tone metal button with a beaded loop.


 In August the family will be moving to Addis Ababa, Ethiopia, where Elise will continue to work with the US State Department and USAID on women's health and education issues.  My niece Kate, will attend school in the 10th grade and my brother Peter will continue his work with Peace Corps and teaching intensive gardening techniques. I have written several posts about my brothers wonderful work and you can learn more, if you are interested, here and here.

I am so very blessed to have such an amazing family. I hope that when Elise wears this piece, she will know of my admiration , love and profound respect!!

Friday, June 29, 2012

Busy and Hot!!!


Life has been a whirlwind lately!! I have been teaching and creating and planning for more teaching!!  recently I have finished this White Free Form bracelet that I am calling "Something New".  It has such a strong Bridal look , the title seemed to be a perfect fit!!

This piece is loaded with pearls and vintage crystals, Opalite stones and Czech floral beads. I am hoping that a customer at Artful Dimensions Gallery will love it as much as I !


Working with summer colors and ocean colors in mind, I have also created these three new Sea Glass Pendants.  I collected these pieces of sea glass last summer on Cape Cod and now each is cradled in a unique strapping of beads, pearls and hand cut vintage crystals!


I just noticed that the temp in DC today has hit 102 degrees!!  After gardening this morning in the relative cool, I set up some sun prints.  One of the few things that a hot sunny oppressive day is good for is Sun Printing!!!  I am working on a very large collage quilt piece that will be comprised of layers of these sun prints.  I have to get three pieces ready to go to the Fredericksburg Museum for a Textile Arts Exhibit that will open in September!!

I hope that all can keep cool !! I am off to set up some more Sun Prints!!!!!!!!!!!!!!!!!!!!!!

Sunday, June 10, 2012

Got Me Again!!! Hooked on a New technique!!


I had the opportunity to take a Thermofax screen printing class yesterday with two delightful gals, Susan Price and Elizabeth Gibson.  The class was held at one of my alternate homes, Artistic Artifacts Annex. For those who are not aware of what Thermofax Screen printing is, here is a quick description.  Someone made the discovery that old Thermofax machines (once used for creating transparencies in schools and such) could be used to burn screens to be used in artwork.  The production of the screens requires 1. a Thermofax  machine ( folks are busy refurbishing old machines for just this purpose) 2. the special coated screen material  3. a black and white toner copy image .  When placed against the screen, the toner image (that contains carbon)  will be burned into the screen material removing the coating in the carbon area- where ever the image is back.
These machines are EXPENSIVE and there is quite a steep learning curve for getting things all worked out and set up.  Elizabeth and Susan have invested in a machine and are working on their own Small business to create screens for other artists who want to print with their own images.  This is the point where my own photography and artwork comes on the scene!!  Their business is call PG Fiber to Art and I will be sure to let you all know when they are up and running for making screens for the public.
In the meantime they taught the class yesterday at Artistic Artifacts Annex ( one of my alternate homes) to teach us how to work with the screens .  We got to print with a wonderful stash of their own screens  and to learn how to best work with the paint on our own fabrics.
I did not do any printing on plain fabrics!  No, not me!! I took along pieces of fabric that had already been manipulated with color. Above is a gelatin mono printed piece of muslin that was done with large bubble wrap then i practiced with the small flower screen using a mixture of yellow and a strong orange paint to WAKE Up this background.
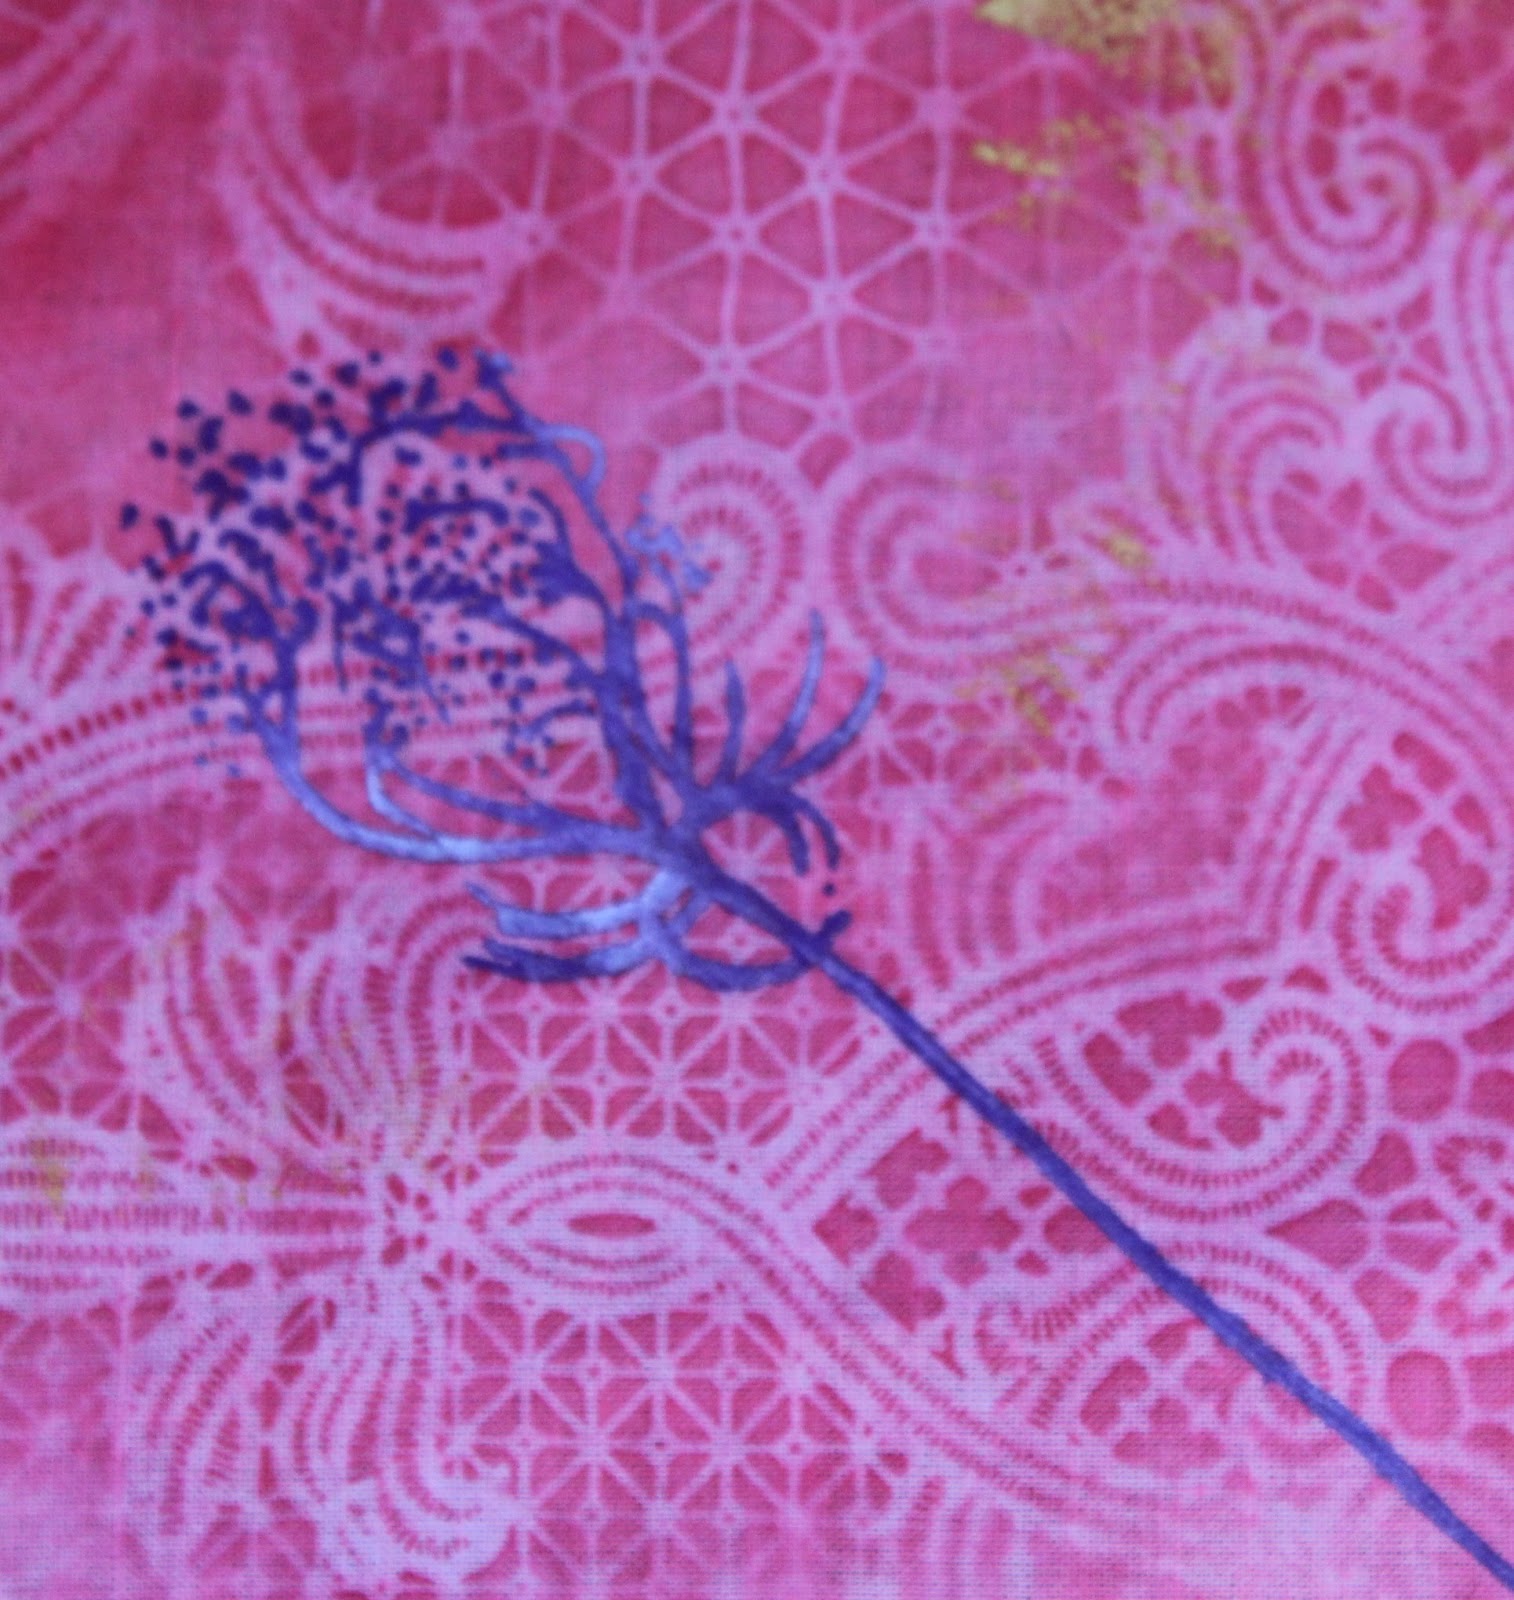
This is one of my favorite pieces. This is a piece of my hand dyed muslin that a printed with several different Queen Anne's Lace screens using several different colors of paint with several different opacity levels.  I love the depth in this piece.
This small bit is a used tea bag that i took apart after the tea had dried out a bit and then printed with another small flower screen!!  Love this!! Save your tea bags!!!
Here is another fabulous Queen Anne's Lace screen printed on one of my sun prints.  I used a mixture of white and purple paints to get the color shift effects.  ( I am not one to keep it simple with just one color of paint, once I got the printing technique down, playtime and experimentation definitely took over!!!)


This is another favorite piece!  This began as a vintage doily that i rust dyed.  the rust dying was less than exciting so it went into the low immersion dye pile and came out quite well.  Not done yet- more Queen Anne's Lace screens and now it is FABULOUS!!!( If I do say so myself!!)

This fabric was created using large bubble bubble wrap on a gelatin plate and then the butterfly screens were added yesterday!!  Much better!! LOVE THIS !!


This piece began life as a large piece of plain muslin.  I wet the fabric and sprinkled it with instant coffee granules and let it dry in the sun.  After heat setting the stains with an iron- REALLY hot- it got screen printed with my favorite Queen Anne's Lace Screens.  O LA LA!!!

Today I am going to be working on my own photographs and then going on a walk to collect some Queen Anne's lace to make my own screens!!
I am hooked again - like a junkie on crack!!! I rushed home and started going thru my photos to find special shots that would work best for this technique.  Now I have yet another layer of my personal images to add to my textile and paper projects. 
It does not get much better than this- let me tell you!!!

Wednesday, June 6, 2012

Nuno Felting Class Project/ Experiment

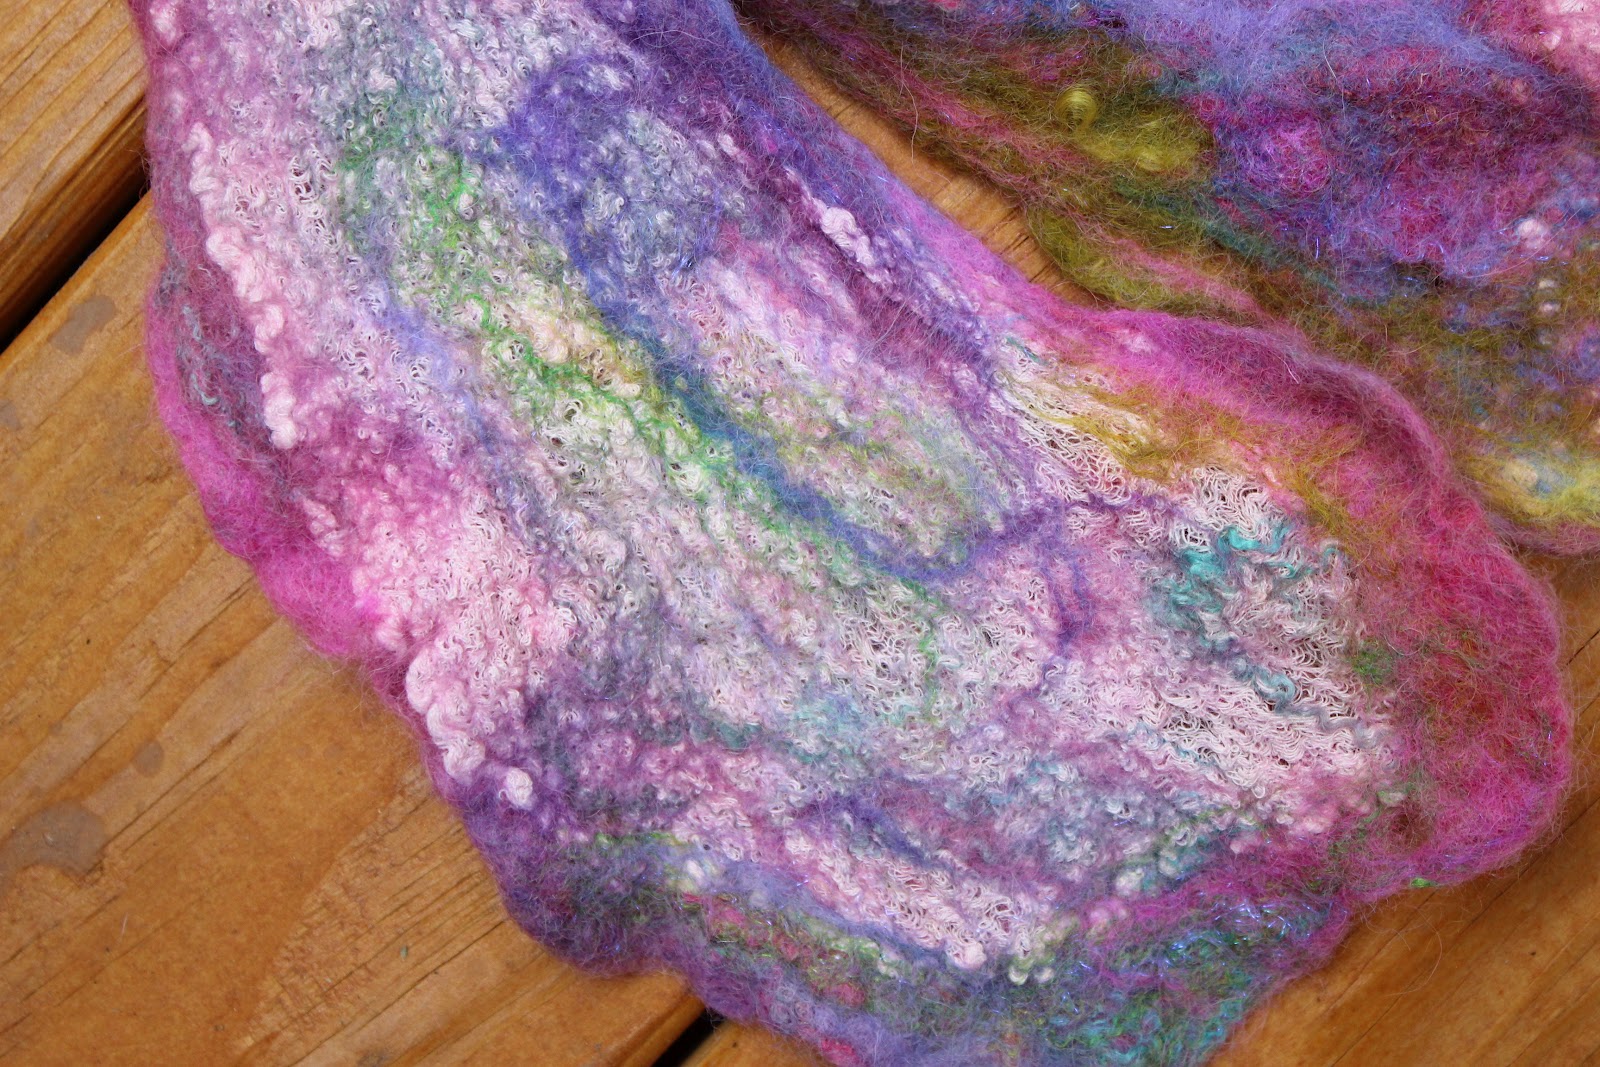
In my previous post I wrote about my recent class with the amazing Margo Duke!( If you click on Margo's name you will be taken to her Flikr library of amazing felted creations!! SWOON!!)  I love the class and had a great time being with Margo and her wonderful spirit and trying to learn all that I can . I finally got around to finishing up the project that I started in the class and I was not at all pleased with the result.  This happens, more times than I care to remember, but when one is just trying to get a handle on a new technique, the path is not always free of ruts and obstacles. In this case I think that I pushed the envelope too much.  there is a reason for the old axiom, Keep It Simple, STUPID!!! This was one of those times.  So when I got a less than stellar result, I deconstructed it and remade the wool and cheesecloth part into this!
Once I separated the cheesecloth/wool from the silk I had a square of wool/cheesecolth with stripes of cheesecloth.  I cut the square into three rectangles and attached the rectangles to each other end to end.  In that process and the subsequent wet felting, several holes developed.  I like the random placement of the holes and I plan to add beads and stitching in those areas to add more areas of interest and tiny sparkling surprises.The edges of the scarf are very organic and the scarf itself is extremely lightweight and is full of frothy texture from the felted cheese cloth.


So from a lemon I got some extra special lemonade and I made" Nuno" felt with cheese cloth rather than silk- it is still "Nuno", as it is definitely a "New" Cloth!!


the thin threads of color that you can see running over the top of the cheesecloth are silk fibers that I added into the felting structure for some more color interest and silky shine.


  I was able to remove the vintage silk scarf that I had tried to felt with and will use it for another project.
So, in the end, it is all good and I learned  a lot, mostly about what not to do.  But often the big mistakes make for the most valuable lessons!!

So now I will be adding some bead work to this piece and setting up a bunch of lengths of cheese cloth for the dye baths as I think that I have stumbled on something that I really want to explore!!!
thank you again Her Majesty Margo Duke for yet another great class!!!

Tuesday, May 29, 2012

Classes,Classes and More Classes!

Teaching classes, making class samples, coming up with new class ideas and writing class descriptions is what my life has consisted of during the past few weeks.  Oh yes, I also had the pleasure of taking another class with Her Majesty Margo, Ms Margo Duke- this time it was Nuno felting!!
The word Nuno means "new" in Japanese and Nuno felting refers to the creation of a "NEW" fabric made by combining wool with another textile- ususally silk,  by forcing the wool fibers through the weave of the silk fabric in the felting process- hence Nuno Felting.
Margo brought along her baskets brimming with glorious samples and the hit of the show was her latest Blue Ribbon Award winning coat from the Maryland Sheep and Wool Show.  I think that she calls it her Butterfly Coat.  It is stunning and amazing and so inspiring to examine in person!!! no wonder it was awarded  Best in Show !!! Bravo Margo!!! What a Master with fibers!!
In these two shots you see my good friend and fellow fiber artist Ms Christine Vihn, modeling the glorious piece!

This vest won the Best In Show Award at last years Wool Festival.  It takes an awful lot of work and creativity to unseat the Queen!!!  How lucky we are to have her live so close to Artistic Artifacts so she can pop in for classes almost every month!!!!

Nuno felting is by no means an easy or quick process.  One must first gather supplies- wool, textiles, silk, lace etc, lay out the design with the wool fibers, assemble the felting sandwich of silk, wool fibers, plastic sheeting; all on bubble wrap and a towel, wet the fibers down and then begin to work the wool fibers through the textile of choice.  PHEW!!! NOT DONE YET!!!!  Once you see evidence that the fibers are getting through the textile, the rolling begins!!
Barbara spent a lot of time laying out her wool fibers on her piece of white lace.  the wool will work it's way through the weave of the lace and lock onto the lace fibers and then take the lace along with it when the wool is fulled (shrunk).

Lauren and Nga were rolling and rolling and rolling and unwrapping, re-wrapping and rolling some more. Margo came by to check the progress and the ladies were able to stop rolling and proceed to rinsing and throwing !  YES, this process takes lots of energy and one can work up quite a sweat. there is even a special stance that one must assume to avoid back strain!!!

Marji was quite pleased with her piece even though Margo had determined that the rolling was not quite done!!
I have not finished my piece yet and I have only just begun the rolling step. i spent a long time laying out my fibers and included some tussah silk along with the wool to add some sheen and jots of bright color. I will post pictures of the piece as soon as I get to finishing it!

The next time you see a felted garment I hope that you will understand some of the effort both physical and creative that went into the creation of each piece.  Whatever the asking price , if the piece is for sale, it is most likely TOO LOW!!!

Now I will leave you with a few shots of what is blooming in my garden!
 Japanese Painted Fern

 New Dawn Rose

Endless Summer Hydrangea

 Siberian Iris
 Siberian Iris with Hydrangea


More Endless Summer Hydrangea

Yes ,I do LOVE my Hydrangea!!

Saturday, May 19, 2012

Lots of Teaching and a New Toy!!

It has been a long time since my last post and I have been very busy!!  I have been busy teaching, developing new classes,
(Class samples for a new Needle Felted Cuff class at Artistic Artifacts)
and making class samples for display at various venues and shows.

 I have also been working intently on a quilt for the Arts and Old Lace Quilt Challenge.  This is another challenge created by quilt artists Cyndi Souder and Judy Gula of the Power Suit Challenge .  This challenge is much more suited to my style as it involves using old lace.
 Cyndi received an offer of fabrics and laces left over from a bridal shop. Not wanting to turn down such a generous donation of such fabulous textiles, the Arts and Old Lace Challenge Quilt Project was born!!  Cyndi is a master of such things and has a real knack for promoting and organizing such events!!
 The excitement is building as the due date arrives (May 31) and I am still working on my piece!  The truth be told, I misplaced my packet in my home studio and after spending two full days trying to locate it, I cried UNCLE and asked if there were any stray bits left over.  Judy rustled up some scraps, I pulled out a bunch of bits to use from my stash and  dove into the process.
I cannot reveal anything significant till after the show date ( July 21 at the Artistic Artifacts Annex in Alexandria VA)  But I will show you a few details and teaser photos.
I have been very inspired by Allison aller's wonderful new book all about embellishment and I used her technique for using Angelina (c)  fibers fused to silk fabric and then cut out each floret by hand ,to create this  flower.  One very important tip: use very sharp scissors!!  I love these by Havels!  You can purchse them here, of course!!

I used a piece of a vintage bureau scarf here and added some seed beads inside the lazy daisy stitches that formed the leaves around the flowers.  The stitches had gotten kind of , well LAZY  looking and the beads perked everything right up!


Here I kept up with my feather stitch work that i used so much in my Coral Cacophony piece and created some feathery foliage.   A few beads added to this lovely vintage doily really added some great sparkle! Ok that's it! No more for now.  I may show a few more photos of tiny portions before the Big Opening , so you will have to stop by again!

Now, for a change of subject, My New Toy!!  My wonderful husband and kids have gotten me a wonderful teaching tool for a combined Mother's Day + Birthday gift!  It is an Asus Tablet with keyboard docking station!!  Cover your ears Apple product fans , but it is much BETTER than the IPAD as it allows you to add memory and has a USB port .  I can load entire slide shows of teaching techniques and examples that I can use to introduce ideas and techniques at the start of my classes.  It has a large touch screen that allows you to zoom in on stitching details and it can be passed around from student to student and pictures flipped through with a flick of the finger without worrying about dropping a stack of pictures on the floor!!  Brilliant I tell you!!!  I used it today for the first time in one of my classes and it was the BOMB!!!!! 


The tablet portion can easily detach from the key board and serve as a tablet for easy passing about.  here are a few pictures to show you how I am using this wonderful teaching assistant!!


Here is the tablet with keyboard attached showing a picture of my finished tapestry Coral Cacophony.


Simply by touching the screen and spreading my fingers I can zoom in on any detail to discuss any aspect of the piece.
For example we talked about using the same stitch but in different thread types and sizes to achieve depth in a tapestry piece.  I was able to find a spot on the tapestry where I had used the technique and describe how I had done it and what materials I had used.  (All the while the actual piece is hanging in the gallery at Artful Dimensions in Fredericksburg!)


Then with another flick of my finger, I was able to move over to another spot and talk about other details, like rocks wrapped and stitched into bits of lace, for example!!!

Just could not be more useful , fun and informative!!!  Now when I have trouble finding the words to describe what I am trying to explain, I can circumvent the stuttering mouth -brain connection and whisk out the tablet with the pictures that are worth so many thousands of words!!!!
I am so very lucky to have such a wonderful family to support my artistic efforts and a husband who adores setting up the new tools for me!!!

LinkWithin

Related Posts with Thumbnails